How to Create a Custom Pickleball Paddle Design If You Have No Design Experience

You want a paddle that actually feels like yours, not something generic that a thousand other players are swinging. But here's the thing: you're not a designer, and a blank canvas sounds more intimidating than a 10-10 tiebreaker.
Here's the good part. A custom pickleball paddle design with no experience is completely doable. You don't need an art background or expensive software. All you need is a rough idea of what you like, a few smart shortcuts, and the right team to handle the heavy lifting.
Let's walk through the whole process.
What Does "Custom Paddle Design" Actually Mean?
A lot of players hear "custom design" and picture hours of complicated artwork. The reality is much simpler.
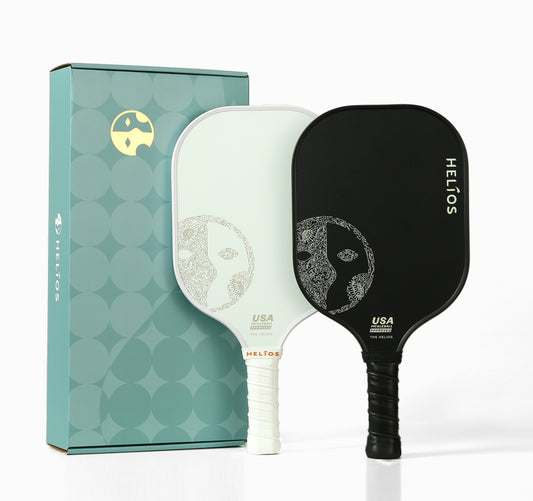
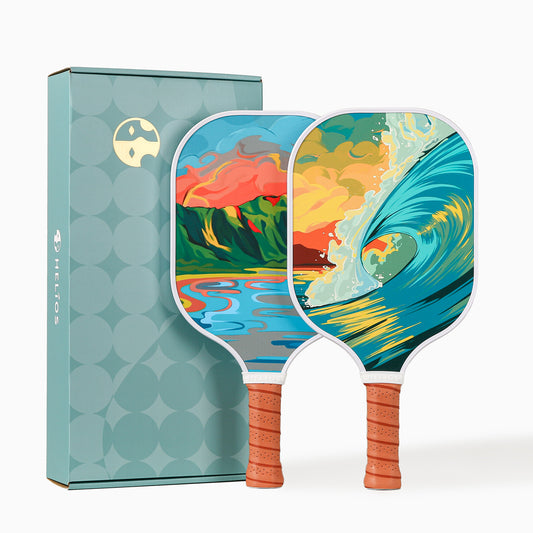
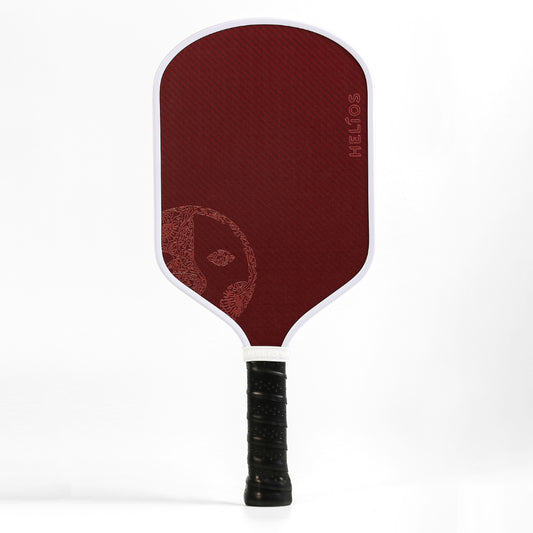
A custom paddle design refers to the visual elements printed on a paddle's face, handle, and edge guard, including colors, logos, text, patterns, and graphics. Some players want fully original artwork. Others prefer a team logo centered on a solid background.
Worth noting: a custom design does not change how the paddle plays. Performance depends on the pickleball paddle model, core material, and weight. The design is purely about appearance.
Step 1: Gather Inspiration Before Opening Any Software
Most non-designers jump straight into Canva or Illustrator without a clear direction, and that's where frustration kicks in. A better starting point? Collecting visual references first.
Here's a quick approach:
- Save 5 to 10 images you like- browse Instagram, Pinterest, or product packaging that catches your eye. Screenshots work fine, and the images don't need to be paddle-related.
- Spot the pattern- after collecting a handful of images, look for common threads. Are you drawn to bold colors or muted tones? Clean lines or detailed illustrations?
- Write three words- sum up the vibe you want in three words. "Sleek, dark, modern" or "fun, tropical, bright." Those three words become your creative north star.
Professional designers start every project exactly like that, making the approach a great head start for anyone designing a custom paddle without graphic design training.
Step 2: Choose a Color Palette (and Keep Things Tight)
Color does most of the heavy lifting in paddle design. Get the palette right, and even a minimal layout looks polished.
A few guidelines for paddle design for non-designers:
- Stick to 2 or 3 colors. More than that tends to look cluttered on a paddle face.
- Pair one bold shade with one neutral. Navy and white, black and gold, forest green and cream. Simple combinations create contrast without visual noise.
- Match existing brand colors. If the paddle is for a company event, a club, or a paddle set, existing brand colors simplify the decision.
Step 3: Plan Your Graphics and Logo Placement
Not every custom paddle needs a complex illustration. Some of the sharpest designs use just a logo on a color block. Here's what to think about:
- Logo placement: Center-face is the most common position, but off-center or bottom-positioned logos often feel more modern. A high-resolution PNG or vector file (SVG, AI, or EPS) produces the sharpest print.
- Text and typography: A team name, player initials, or a short phrase adds personality. Sans-serif fonts like Montserrat or Futura read well at smaller sizes on a paddle face.
- Patterns and textures: Geometric shapes, gradients, and subtle textures add depth without requiring original artwork.
For recreational paddles, bright colors and playful patterns work well. For performance paddles, cleaner and more streamlined layouts tend to match a serious-play aesthetic.
Step 4: Use a Free Tool or Hand Off the Design Entirely
You have two solid paths here.
If you want to draft something yourself:
- Canva (free tier): Drag-and-drop templates, stock graphics, and a simple color picker. Set the canvas to paddle face dimensions and start arranging.
- Figma (free tier): Slightly more advanced, but ideal for precise logo and text placement.
- Google Slides: Surprisingly effective for basic layouts. Drop in your logo, set the background color, and export a high-res image.
If you'd rather skip the design work entirely:
Handing off to a brand with built-in design support is the easiest route. At Helios, you email your ideas, rough sketches, or even just a written description. An in-house designer then creates a custom pickleball paddle mockup based on your vision. That kind of custom pickleball paddle design helps remove the guesswork and the learning curve completely.
Common Mistakes to Avoid
Even simple designs can go sideways without a few guardrails. Here are the most common pitfalls for non-designers:
- Low-resolution images: A logo that looks sharp on a phone screen can print blurry on a paddle. Always use files at 300 DPI or higher.
- Too many elements: When in doubt, remove something. White space is a feature, not a flaw.
- Ignoring the edge guard: The edge guard wraps around the paddle's perimeter. Account for that border so key visuals don't get cropped.
- Skipping the mockup review: Always request a digital proof before production begins. A quick review catches color mismatches and alignment issues early.
Final Thoughts
An easy custom paddle design doesn't require years of training or expensive tools. A clear vision, a simple color palette, and the right production partner handle the rest.
Ready to design your own pickleball paddle? Start your free consultation and see a mock-up in less than 24 hours.
Frequently Asked Questions
Do I need design software to get a custom paddle?
Not at all. Brands like Helios offer free design consultations where a professional designer handles the layout from your ideas.
What file formats work best for logos?
Vector files (SVG, AI, EPS) produce the sharpest output. High-resolution PNGs at 300 DPI or above also work.
How many paddles do I need to order?
At Helios, the minimum is 10 units with a turnaround of about 14 days.
Can I mix different designs in one order?
Yes. Mixing colors, logos, and layouts within a single order is possible, which makes the process flexible for teams and events.